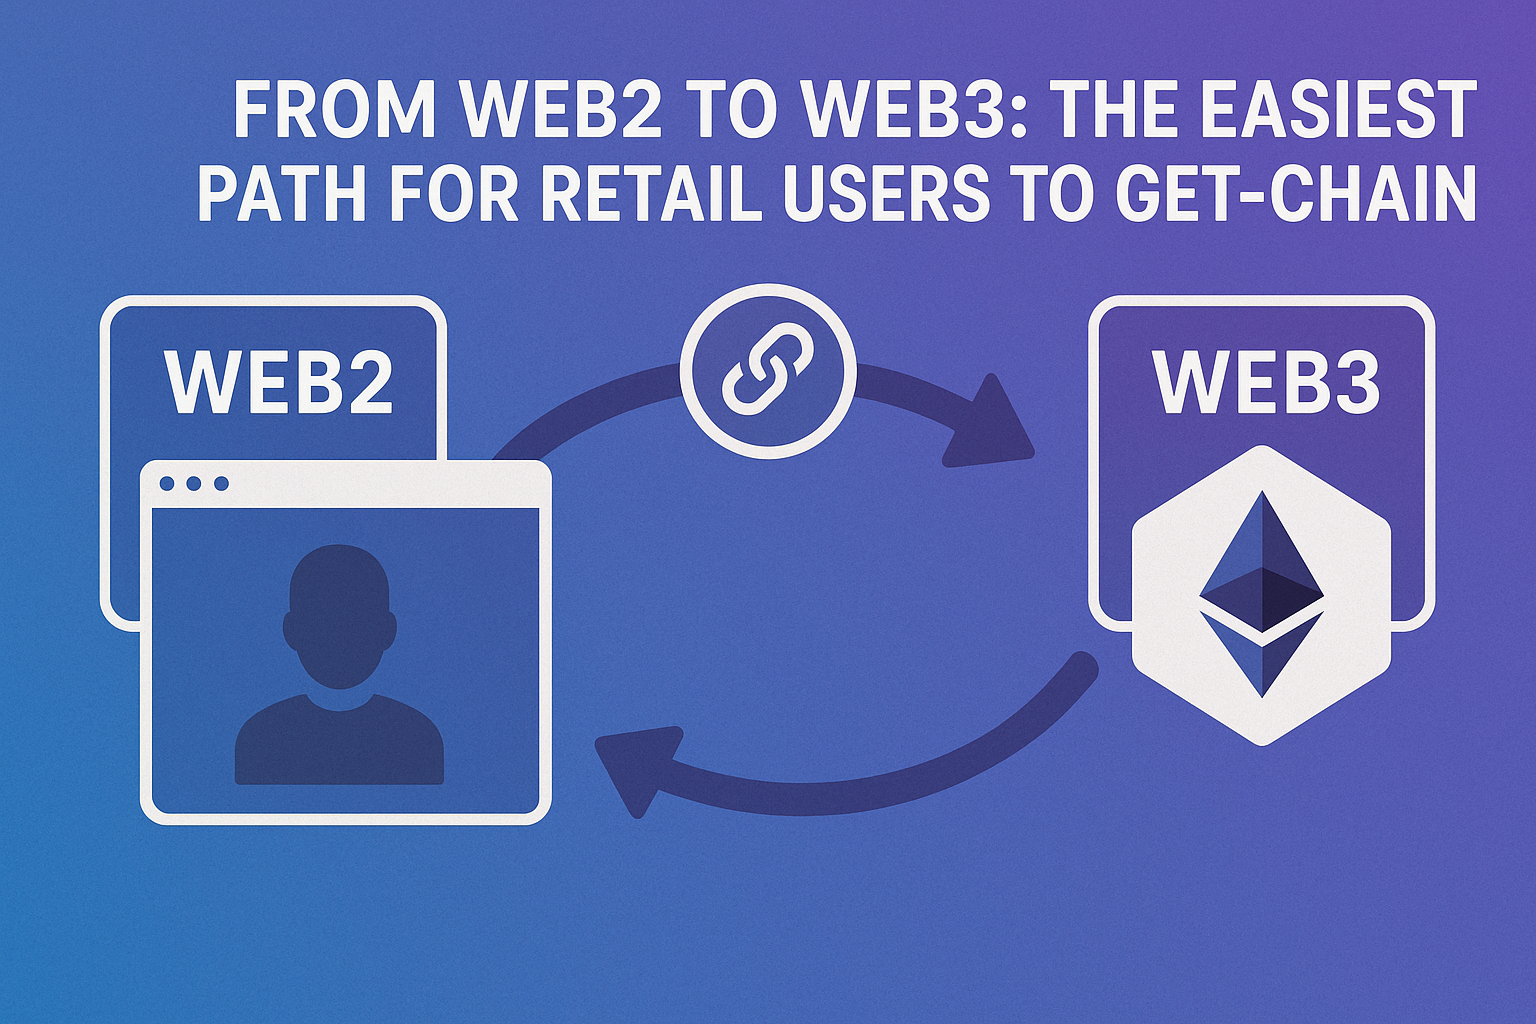
Remember when the hardest part of getting online was picking an embarrassing email address you’d regret for decades? (Shout out to all the former xXDragonSlayerXx@hotmail.com users.) Well, welcome to the new frontier: getting from Web2 to Web3. If you’re a retail user looking to get on-chain without losing your mind—or your shirt—this is your guide to easy Web3 onboarding. Spoiler alert: it’s less about slaying dragons and more about navigating wallets, seed phrases, and a whole lot of jargon.
Why Web3 Feels Like a Maze (And How We Got Here)
Web2 gave us one-click shopping and endless memes. Web3 promises ownership, privacy, and the ability to trade cartoon apes for actual money. But let’s be honest—the transition can feel like being handed a treasure map with half the landmarks missing. The biggest hurdle? Onboarding regular folks, not just crypto die-hards.
The typical journey starts with downloading a wallet, writing down a 12-word seed phrase as if it’s the secret code to Narnia, and then figuring out how to add funds. No wonder most people look at on-chain onboarding guides and immediately decide their bank app isn’t so bad after all.

The Wallet Woes: Why Most Retail Users Bounce
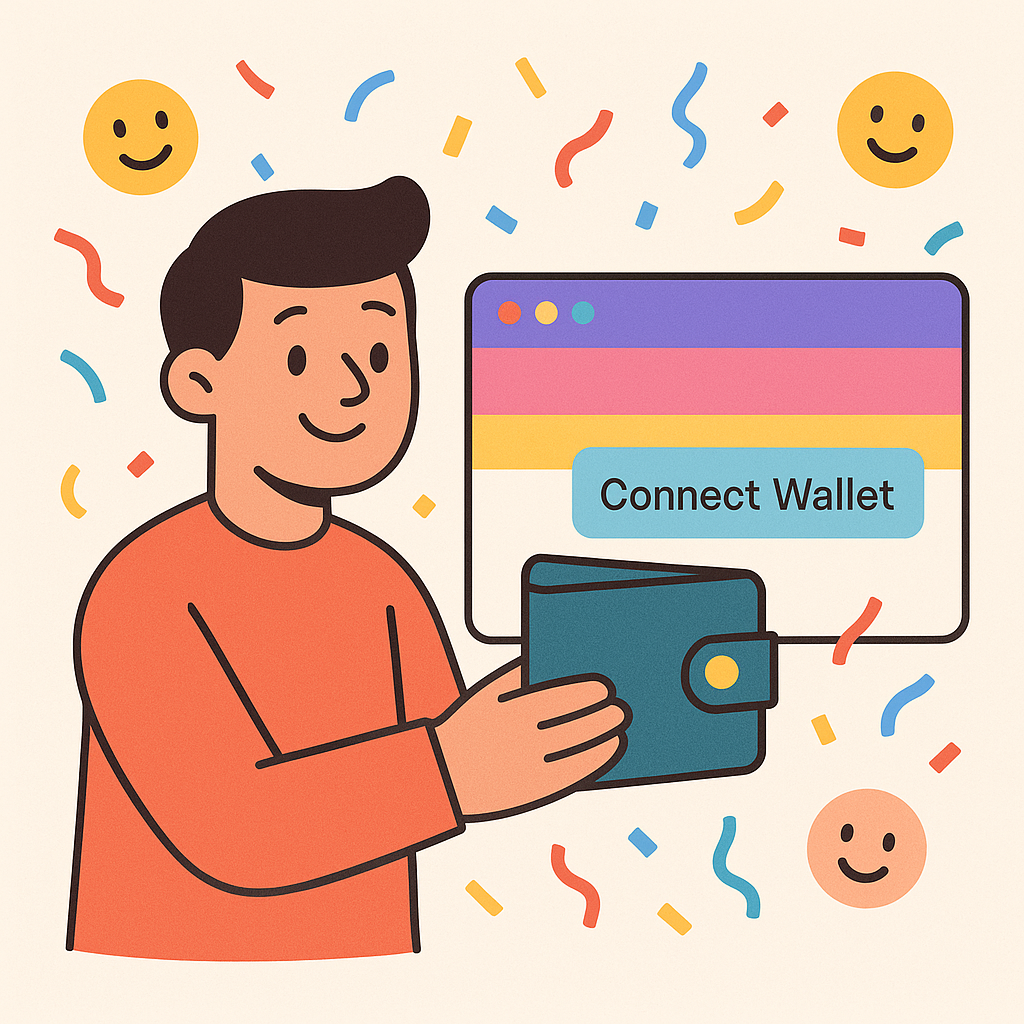
If you’ve ever tried explaining MetaMask or Phantom wallets to your parents, you know the struggle is real. The first step in Web3 onboarding for beginners is wallet creation—and this is where many retail users tap out faster than you can say “gas fees.”
Let’s break down why:
Top Pain Points in Creating a Crypto Wallet
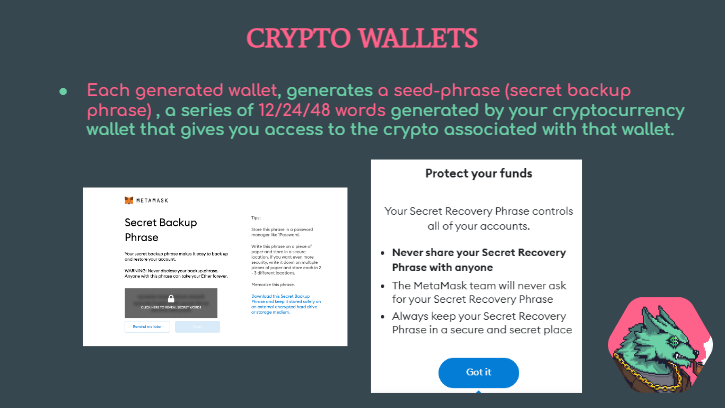
- Remembering Seed Phrases: That 12- or 24-word recovery phrase from MetaMask or Trust Wallet is your lifeline—and also a memory test most of us fail. Lose it, and your crypto is gone forever. No pressure!
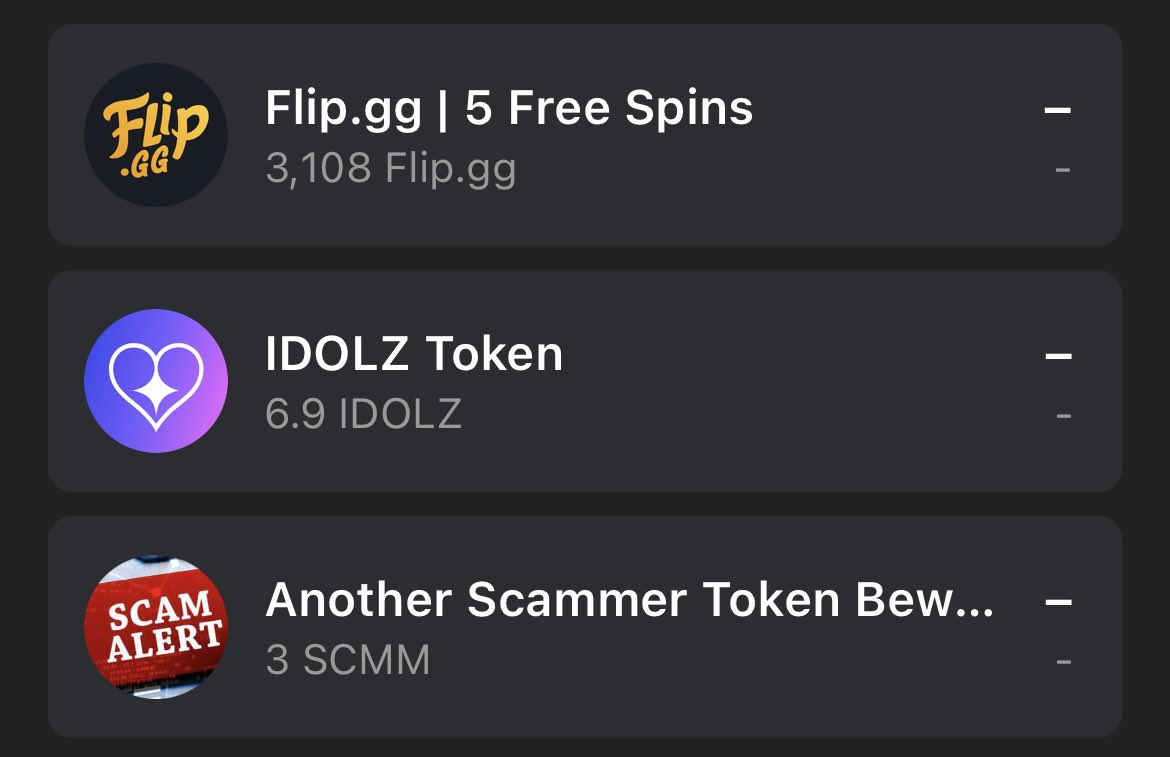
- Phishing Scams Everywhere: Fake Phantom Wallet pop-ups and sneaky Google ads are lurking, just waiting for you to click the wrong link and say goodbye to your funds. Double-check those URLs like your life depends on it!
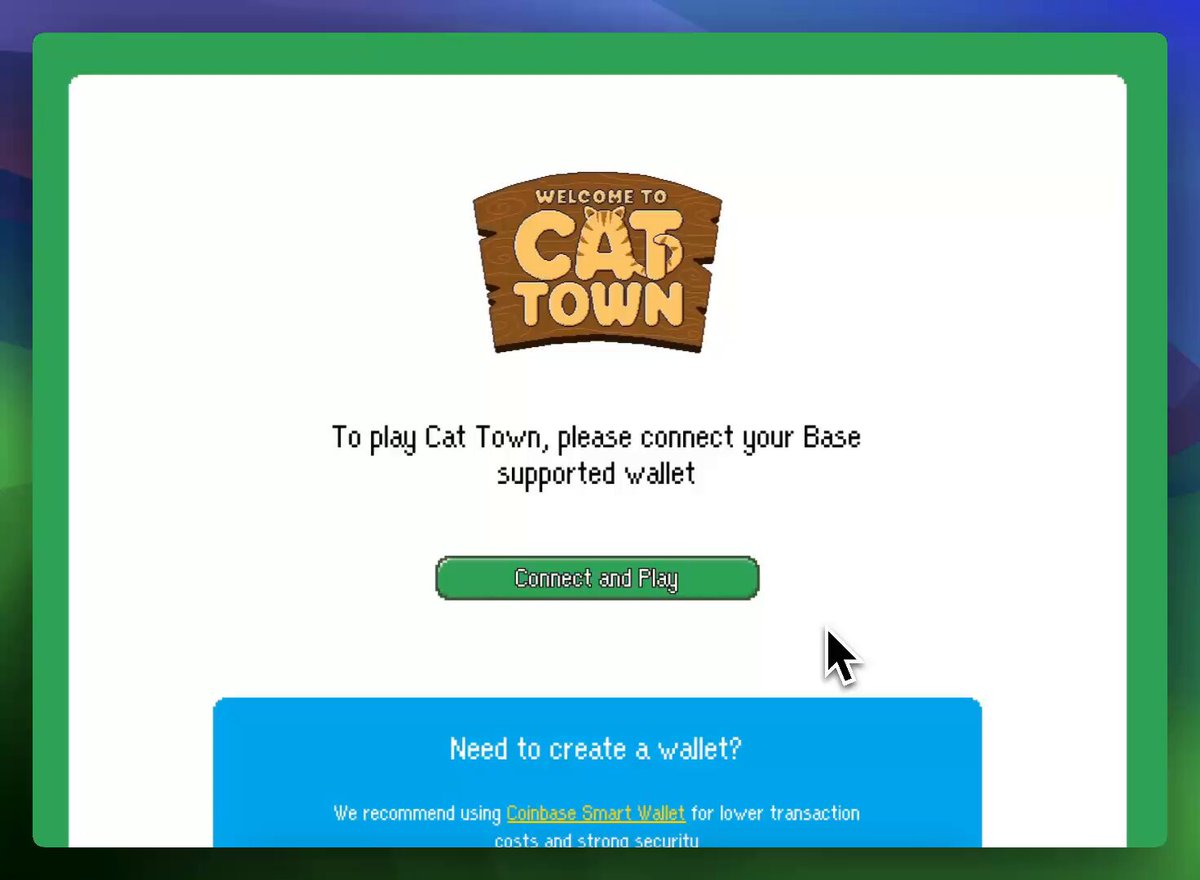
- Complex Onboarding Processes: Platforms like Coinbase Wallet promise easy setup, but even their step-by-step guides can feel like decoding ancient hieroglyphics if you’re new to crypto.
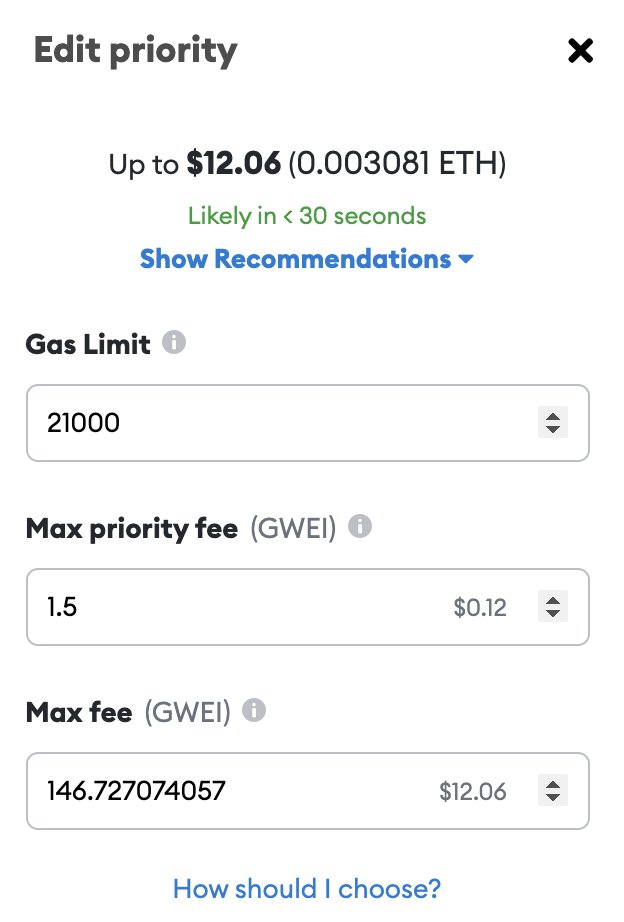
- Gas Fees Confusion: Ethereum wallets like MetaMask introduce users to the wonderful world of gas fees—"Why does it cost $20 to move $10?" is a question we’ve all asked at some point.
- Device Compatibility Issues: Some wallets, like Ledger Live for hardware wallets, need you to juggle apps, USB cables, and Bluetooth connections. Setting it up can feel like defusing a bomb—except the bomb is your anxiety.
The industry knows this. That’s why companies are working overtime on solutions that blend familiar Web2 logins (think Google or Apple sign-ins) with secure blockchain authentication. The goal? Make it so easy that even your technophobic uncle can mint his own NFT—without calling you five times.
Simplifying On-Chain Onboarding: Best Practices Emerging
The good news? There are some clear best practices emerging from projects obsessed with making retail crypto onboarding as smooth as possible:
- No more seed phrase anxiety: Social logins or magic links are replacing scary backup phrases.
- Slick UX: Wallets now come with interfaces that wouldn’t look out of place in your favorite fintech app.
- Unified experiences: Some platforms let you start with a regular username/email and "upgrade" later when you’re ready for full self-custody.
- Tutorials everywhere: Step-by-step guides pop up at every turn (with fewer pop-ups than the average recipe blog).
The Secret Sauce: Meeting Users Where They Are
If there’s one thing we’ve learned from watching thousands of retail users try—and sometimes fail—to make the leap from Web2 to Web3, it’s this: People want familiarity. They want their first step on-chain to feel like logging into Netflix, not hacking into NASA.
This means blending what works in Web2 (password resets! support chats! emojis!) with what makes Web3 special (ownership! privacy! memes!). It’s not about dumbing things down—it’s about removing friction until the only thing left is curiosity and maybe a little FOMO.
So, what does a truly easy Web3 onboarding experience look like for the average retail user? Picture this: you land on a dApp and instead of being bombarded with cryptic wallet pop-ups, you see a friendly “Sign in with Google” button. You click it, your wallet is spun up behind the scenes, and—voilà!—you’re in. No seed phrase-induced existential crisis. No frantic Googling of “What is gas and why does it hurt?” Just pure, unadulterated blockchain magic… minus the pain.
Of course, this utopia isn’t universal yet. But thanks to projects leveraging progressive onboarding, retail users can dip their toes in before they cannonball into full self-custody waters. Some platforms even let you start out with a custodial wallet (where someone else handles the keys) and then gradually hand over control as your confidence grows. It’s like learning to ride a bike—with training wheels that don’t judge you.
On-Chain Onboarding Guide: The Retail User’s Cheat Sheet
Let’s distill all this into an actionable cheat sheet for anyone looking to make the leap from Web2 to Web3 without losing their cool (or their crypto):
Your First On-Chain Adventure: A Fun Beginner's Guide


- Start simple: Use platforms that offer social or email logins to create your first wallet.
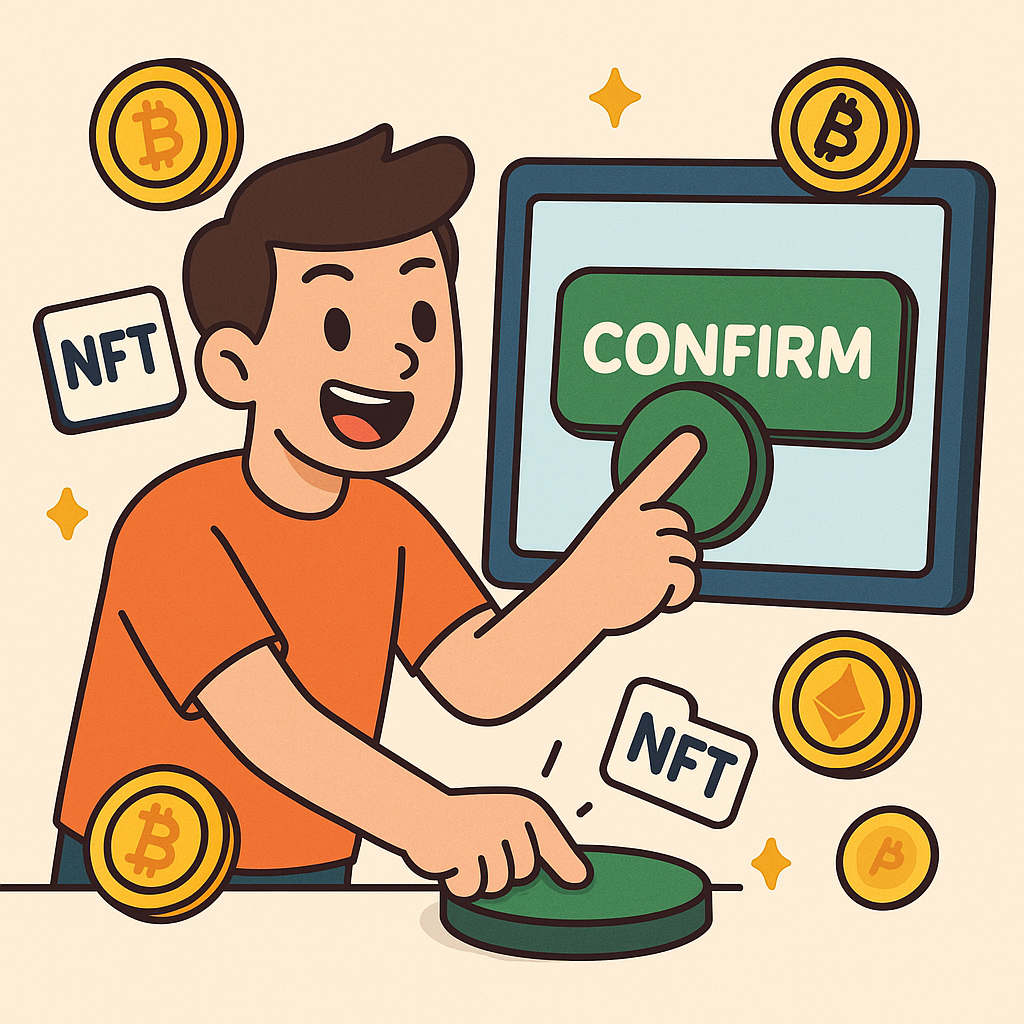
- Practice makes perfect: Try testnets or faucet tokens before risking real money.
- Upgrade when ready: Move to self-custody only when you’re comfortable managing keys and security.
- Lean on community: Join forums or Discords for newbie support—you’re not alone in your confusion!
If you ever feel lost, remember: even seasoned degens were once confused by MetaMask foxes and mysterious network fees. The difference is they stuck around long enough to laugh about it (and maybe tweet some memes).
The Future Is Frictionless (Probably)
The bottom line? As more retail users demand smoother experiences—and as projects compete to remove every ounce of friction—Web2 to Web3 onboarding will only get easier. Maybe one day, we’ll look back at today’s clunky processes the same way we laugh at dial-up modems and MySpace Top 8 drama.
If you’re still hesitating, just remember: everyone starts somewhere. And if all else fails, there’s always that one friend who won’t stop talking about crypto—they’ll help you get on-chain (or at least send you another meme about it).


No comments yet. Be the first to share your thoughts!